Friday, October 31, 2014

Class 9: M 3D Rocket In Meshmoon

Here, I am looking for a place to build the rocket on my world in mesh moon.

Here, I am building a cylinder to make the body of the rocket.

Here, I am attaching a cone on top of the cylinder to make the head of the rocket. 

Here, I added texture and color to the body and head, and started to build the fin using a cone shape.

Here, I adjusted the cone to fit the cylinder, and added texture to the fin of the rocket. 

This is the final product of the rocket and me standing on front of it. 


Thursday, October 30, 2014

Class 9: Customizing my Avatar

My original avatar was Charlie with a snap back. I changed my avatar into Jack. I changed his outfit from a boxer into a hiphop style. Also, among many different options, I made him point to the front. 

This is the team score board created in rocket mesh moon. I captured myself in a bird-eye viewpoint, and I also met two other classmates dressed up as a priest, in this virtual world. 


Class8, FINAL PREPARATION: Learning the Basics of JavaScript

Here, I'm looking at a video talking about what programming is. 

Here, I'm taking a tour on how to start on programming, by watching this video.  

Here, I'm learning the basics of drawing shapes in JavaScript.

Here, I learned to draw squares and learned how to position them in different places.  

Here, I learned how to draw other structures and shapes. 

Here, I learned to draw rectangles, circles, and lines, and positioned them as I wanted to. 

Here, I challenged to draw a face using differently positioned circles and ellipses. 

Here, I was challenged to draw an ice cream cone, and learned how to fill them up using different colors. 

Here, I was challenged to create a scene of beautiful day. I learned how to merge shapes and fill them in with different colors. 

Here, I was challenged to draw a rabbit with bigger eye size. I learned how to use the var: manual. 

Here, I was challenged to draw a food in the plate. I drew a fish using different features that I learned. 

Here, I was challenged to draw eyeballs and mouth for the frog. I positioned the ovals appropriately and filled them in with black color. 

This is a final exercise from the Immersive Education course that I am taking at Boston College. The course is called Discovering Computer Graphics. For details, visit the immersive BC portal at http://ImmersiveEducation.org/@/bc 

Class 8: Getting Started with Vector and Bitmqp Graphics on Scratch

Here, I am starting to choose a character that I want to use, and the page is in a vector version. 

Here, I changed the character, put some navigation in it, and drew a flower in the background. 
This is the final product using the vector graphic version of scratch. When you press the green flag button, the ghost rotates around. When you press the space bar, it meows. You can check it out here: http://scratch.mit.edu/projects/32006370/#fullscreen 

Here, I am inserting some navigation blocks to manipulate the motion of the character.
Here, I am inserting a floor in the background using a box and fill in tool.
This is the final product using the bitmap version of scratch. The bear walks forward when you press a space bar and says hello when you press the green flag sign. You can check it out here:  http://scratch.mit.edu/projects/32012246/#player 


This is a final exercise from the Immersive Education course that I am taking at Boston College. The course is called Discovering Computer Graphics. For details, visit the immersive BC portal at http://ImmersiveEducation.org/@/bc 

Thursday, October 23, 2014

Class 7, Step 2

Here, I used different strokes tool (rectangle select tool, circle select tool, free select tool) to draw different shapes. I also changed the transparency, type of strokes, and the thickness of the lines.

Here, I drew different shapes using the selection tools, and then used the "paste into" tool to paste images into each shapes. 

Here, I drew different shapes using the selection tools, and then used the "transparency" option to give different transparencies for each image. 

Here, I used the text editing tool to change fonts, colors, transparency, and sizes of each text. 

Here, I used the scale tool to make the Midterm image into half the original size.

Here, I used the scale tool (chain shaped icon) to freely change the scale of the original Midterm image. 


Thursday, October 16, 2014

Class 6, Assignment 9


The article "Distributed Self" describes how our identities and appearances can be transferred to one or more immersive 3D avatars. The avatar could be just like us, having consciousness and containing every detailed information about us. It is possible for us to change their appearance, feelings, and ideas as well. The article states that it is creating another identity of myself in a virtual world, and this can possibly eliminate the difficulties of multitasking. They will be awake and active, completing their tasks even when we sleep. Also, it is possible to possess a "distributed self" by creating multiple avatars each with different personalities and traits. This article was so interesting in that it showed how connecting the real world with the virtual world is becoming more and more realistic.    

The identity mapping exercise clearly relates to this article in that it first requires us to take a survey asking questions that can determine our experiences and different identities on a social media. Such information is gathered to create a large one identity map that summarizes our experiences. Although it is less complex and detailed compared to the avatar, it still embodies the identity that we carry in the virtual world, separate from the identity that we possess in the real world.


Class 6, Assignment 8

Here, I am reading about WEBGL on http://JiED.org

Here, I selected on the Horizon tile to find several WEBGL examples.

Here, I clicked on the FishTank WebGL example. However, it wouldn't open in any of the websites on my laptop, including google chrome, safari, and firefox. These screenshots are from the Journal of Immersive Education (JiED) at http://JiED.org

Here, I clicked on the Human Body WebGL example. However, it wouldn't open in any of the websites on my laptop, including google chrome, safari, and firefox. These screenshots are from the Journal of Immersive Education (JiED) at http://JiED.org

PlayCanvas website at https://playcanvas.com

Here, I am looking at the first set of prices for PlayCanvas on https://playcanvas.com

Here, I am looking at the second set of prices for PlayCanvas on https://playcanvas.com

Here, I am creating an account on PlayCanvas.

Here, I am reading the user manual on PlayCanvas.

Here, I am listening to the Getting Started youtube guide. 

This is the page created by following the Getting Started guide. 


I attempted to build my first PlayCanvas application following the getting started instructions, but it wouldn't show up on my laptop, although I tried chrome, safari, and firefox.  


Wednesday, October 15, 2014

Class 6, Assignment 7

This is the first page of Canva. I am choosing between the different format.
I chose the album, podcast cover making template. First, I moved around the original letters, changed the background by uploading my own image of a star, and also changed the color of the letter from white to black. 


I chose the "Making a Card" template. First, I removed all the original texts, and inserted a text sticker. Also, I wrote my name in a different font/color. 


I chose the template "Making an Invitation." First, I changed the heading and the subtitles. Also, I changed the font and color of the texts from white to black. 


I chose the "Making a Facebook app" template to make an app cover for a coffee shop. First, I changed the background to an image of a coffee mug. Also, I inserted text sticker and texts with different color and font. 


1. Canva is a website where you can design different types of cards, invitations, blogs, pages, etc. It is helpful because it provides you a template with texts and pictures. I just had to change the texts and pictures from what was already on the template, and it was much easier to create. There were a broad range of templates, images, text fonts, and stickers that I could make use of.

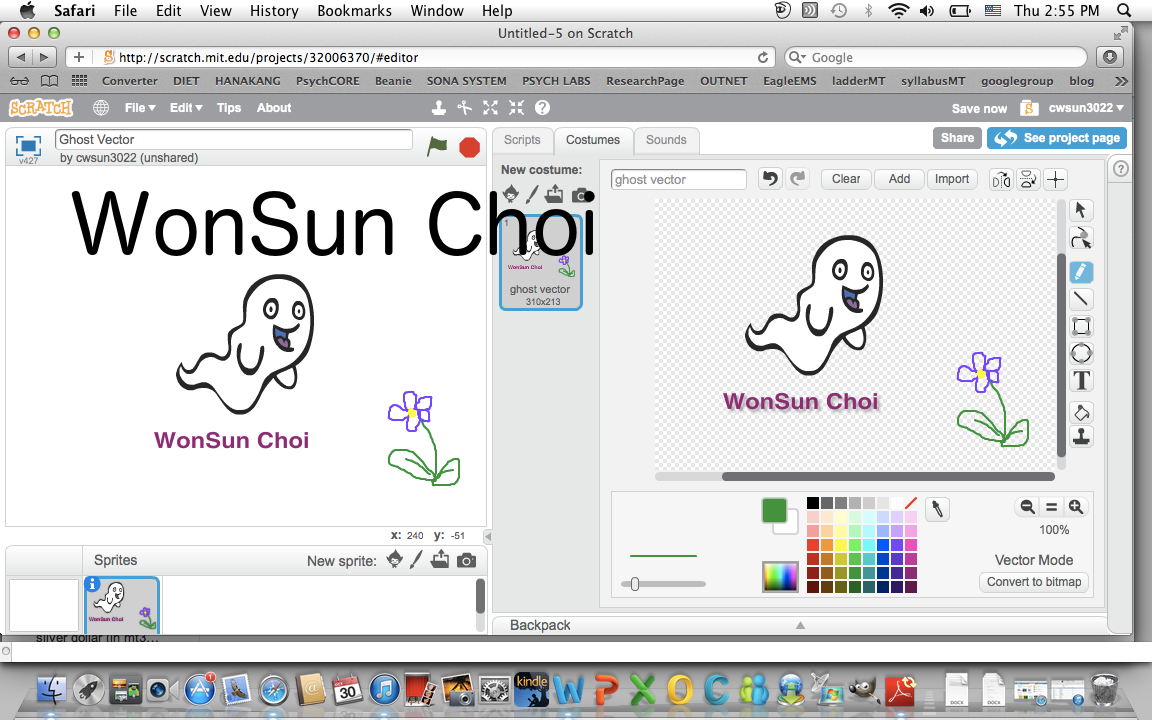
2. Canva is a vector graphic because flexible resizing and dragging of the images is possible, and the quality of the images remain unchanged.

3. Canva is similar to piktochart because it first of all, provides you with a template, allows you to drag your own images without changing its quality, and also allows you to change font size and color.

4. Canva is different from piktochart because it has much more choices for the templates. Also, it has more variety of fonts and stamps that are easier to utilize.